What do you need to make jewelry?
You want to start making jewelry, so you choose some nice beads to start with. But then you still need something to attach the beads to. What do you actually need to make a bracelet or a set of earrings? There are various jewelry-making techniques, each requiring different components. We'll explain:
Elastic
The most commonly used thread for bracelets is elastic . Elastic is available in various thicknesses and colors. We offer three different thicknesses of elastic in a transparent color. 0.5mm is the most common thickness. You can use 0.5mm elastic to string 2mm seed beads . For beads with a larger hole, you can use a thicker gauge. With thicker elastic, you can make sturdy bracelets in one go. With thinner types of elastic, you can also thread the same bead twice to make the bracelet extra secure. Now it's just a matter of tying three knots and pulling everything tight, and you've got a bracelet! Make the knot extra secure by applying a small dab of glue or clear nail polish to the knot. This creates a protective layer around the knot, ensuring it stays together.

This bracelet is quick and easy to make by threading it onto elastic and tying it closed.
Crimp beads
These beads are often used with elastic. You can also crimp elastic together with a crimp bead. Crimp beads can also be used on steel wire . You thread the bead onto the wire, thread the wire back through the bead to create a loop, and crimp it closed with flat-nose pliers. Test to make sure your crimp bead is secure!

Here we show you how to use a crimp bead with wire. Create a loop and crimp the bead closed!
Earring hooks
You've probably already guessed it, but ear hooks are used to make earrings. This is a must-have for your jewelry accessories list! Ear hooks come in various shapes and colors. A common type is the swan neck. This type has an eyelet where you can hang a charm, for example. To ensure you don't lose your earring, you can use an earring stopper that you attach to the hook at the back of your ear. We also have the popular round earring hooks . These hooks unfold, and once you've put the earring in your ear, you fold them back closed. You can also hang cute charms on this hook, making a lovely pair of earrings in no time.

For example, these gold-colored earring hooks can be combined well with a gold-colored charm.
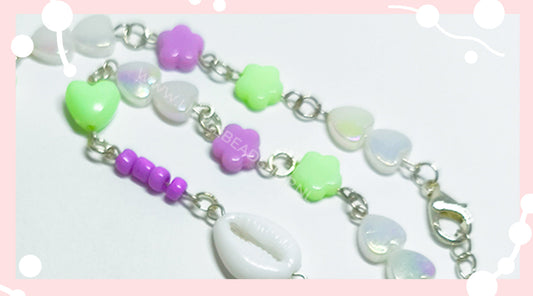
Rings
Jump rings are truly indispensable for your jewelry collection! Jump rings offer several possibilities. You can attach a charm to an earring or hang a charm from a bracelet or necklace. You can also use them to connect two head pins together when chaining a bracelet or necklace. You can also use jump rings to create an extension chain for your newly strung bracelet made of wire and crimp beads!

This bracelet made of wax cord and facet beads has a nice charm that is attached with a ring to a spacer bead with an eyelet.
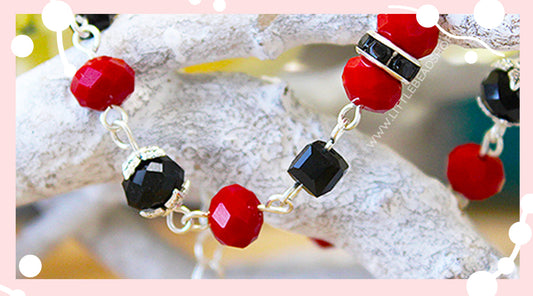
Head and Rivet Pins
Head pins and head pins are great to use if you want to make a set of beaded earrings, for example. Head pins are pieces of sturdy wire with an eyelet. All you have to do is thread a bead onto this "pin" and attach a second eyelet using round-nose pliers. Cut off the excess wire and attach one eyelet to an earring hook. Attach a cute charm to the other eyelet, and you've created a lovely set of earrings!
Head pins work much the same way. The difference between head pins and head pins is that a head pin has a flat circle instead of an eyelet. It looks just like a nail. The advantage is that you can turn a nice polymer bead , for example, into a charm. Thread the bead onto the pin, create an eyelet at the top with round nose pliers, and then attach this eyelet to an earring hook. Just like that, you've turned a bead into a charm! Super fun, right?

This bracelet is linked with head pins. Your jewelry instantly looks luxurious!
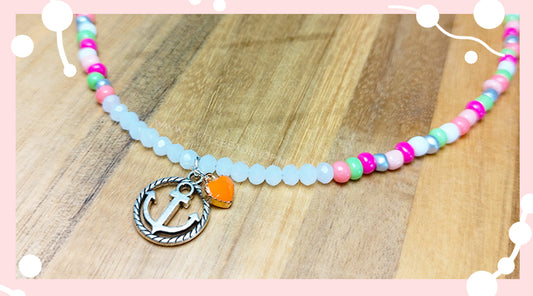
Extension chain
As the name suggests, you use extension chains to lengthen a bracelet or necklace. Attach a clasp to one side of the jewelry and an extension chain to the other. This way, you don't have to measure the wearer's wrist size. The bracelet is easily lengthened using the extension chain, and fits a wide range of wrist sizes. The same principle applies to a necklace. You can easily shorten or lengthen the chain!

This necklace is finished with an extension chain, allowing you to easily make it a bit longer or shorter!
Closures
There are various types of clasps to finish your jewelry. Lobster clasps are a popular choice. These are the small, loop-shaped clasps you see in many handmade jewelry pieces. We offer these clasps in several colors. You can also use magnetic clasps . These are a bit more expensive to purchase but incredibly easy to use. You simply click them together or apart. The magnets are very strong and won't easily come loose while wearing.

Jewelry pliers
Everyone who's just starting out with jewelry making needs a set of jewelry pliers! These pliers are indispensable for making your own bracelets or earrings. With pliers, you can, for example, bend open jump rings, create loops on head pins or head pins, open the loop of an ear hook, or close a crimp bead! The most commonly used pliers are round nose pliers , for example, for creating loops on head pins, wire cutters , for cutting elastic or wire, and flat nose pliers, for bending open jump rings and closing crimp beads. With our combination pliers , you can both cut and crimp—very handy!
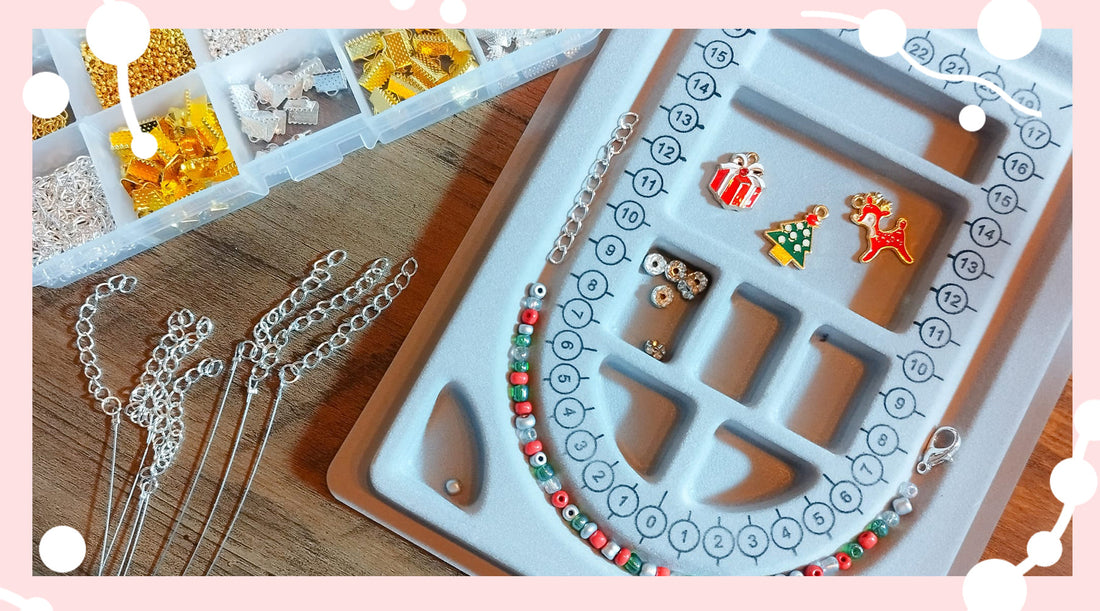
Bead board
A must-have for many people: a beading board ! You can place beads on such a board and easily measure the length of your bracelet or necklace. Very handy! It also has several compartments for your beads. Oh, and your beads won't roll off your table—handy too, right? Saves crawling on the floor, haha!

These are the most common components you'll need for jewelry making. It depends a bit on what you want to make, but with these components, you'll go a long way! Now you know the benefits of these items and what they're all used for. Still have a question? Feel free to send us a message on Facebook or Instagram, or send an email to info@littlebeadshop.nl . We'd also appreciate it if you left a comment below!
2 comments
wat handig dat het ook word uitgelegd op deze website
Wat een duidelijke uitleg en wat een gezellige manier van vertellen 😊👍.