How to make ribbon bracelets?
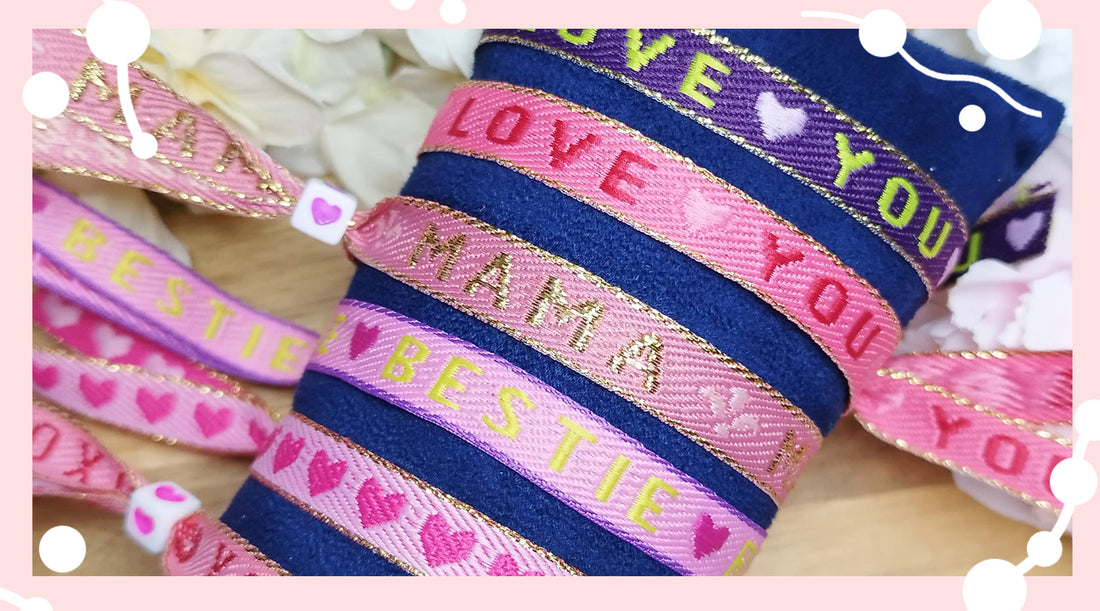
They're totally trendy and super easy to make: ribbon bracelets! Simply cut to size, attach a sliding bead, and you're done! But how do you actually put one together?
What do you need?
– A piece of ribbon (about 30 cm*)
– A sliding bead with a threading hole of at least 4mm (like the one in the package)
– A piece of steel wire or other strong wire to get the bead onto the ribbon
– Possibly a little clear nail polish.
* 30cm of ribbon is an average size. This will almost always fit around a person's wrist. You can also measure the wrist size of the person who will be wearing the bracelet with a tape measure. It's important to leave at least 5cm at each end of the ribbon so the sliding bead has room to slide once it's attached. If you use the wrist size plus 10cm, you'll almost always be fine.


Step 1) Cut the ribbon to the desired length. You can rub a little clear nail polish on the ends of the ribbon to prevent fraying. This isn't necessary. Fold the ribbon over the strong piece of wire.
Step 2) Now thread the bead over the piece of wire. Then, while holding the bead, pull the wire until the ribbon emerges from the other side.* You can now continue pulling the ribbon, and you no longer need the wire attachment. Carefully slide the ribbon through the bead. Slide the bead far enough toward the ends that you can slide your hand through the bracelet. Once it's on your wrist, slide the bead back a bit to ensure a snug fit.
* Please note: one ribbon is a bit thicker than the other, you sometimes need quite a bit of force to slide the bead over it
Want to see how I do it? In this video, I'll explain it and show you how to make these cute bracelets yourself:
And you're done! You've now made a ribbon bracelet! Easy, right? If you have any questions or need help, feel free to email us at info@littlebeadshop.nl or send us a message on Facebook or Instagram!


